Removing Tape-In Extensions
Blog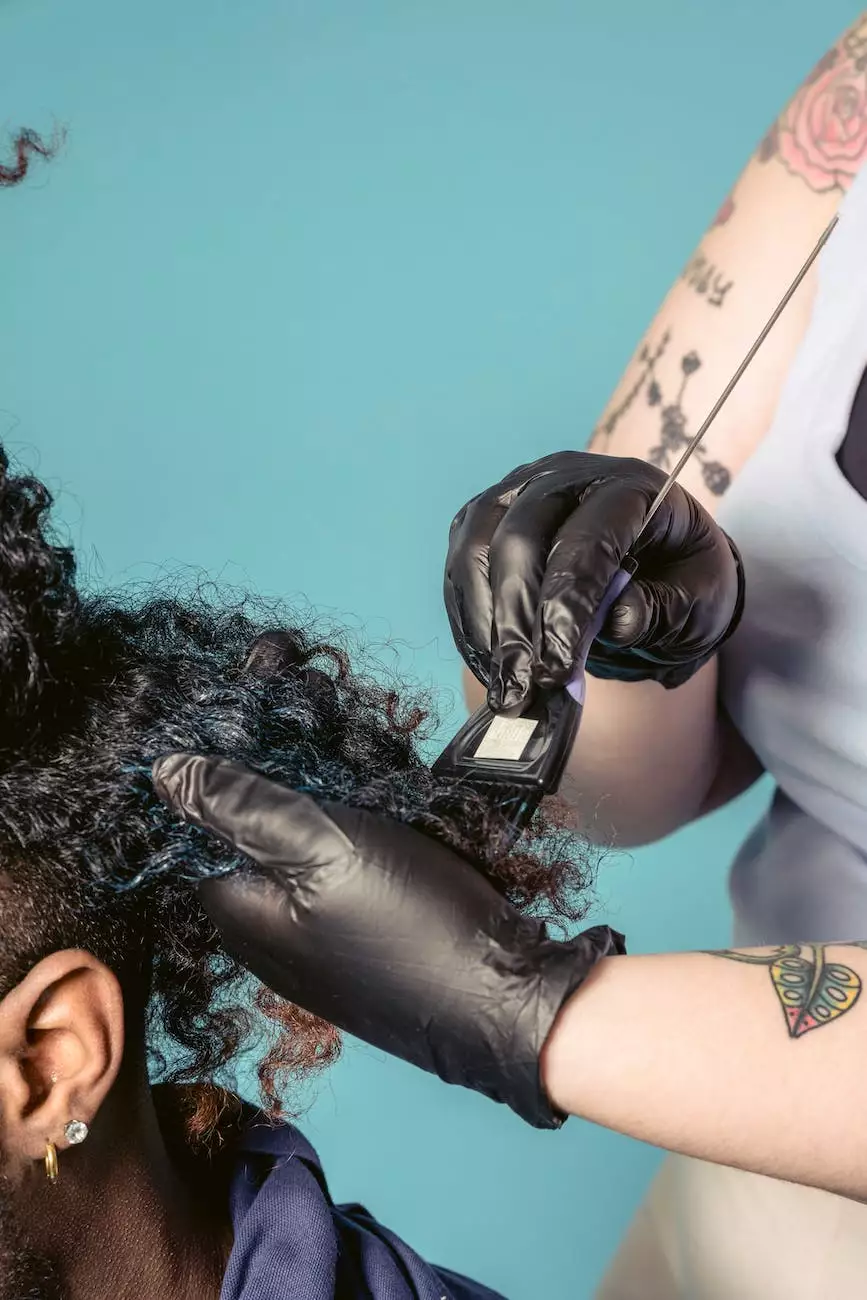
Introduction
Welcome to Courtney Taylor, your ultimate destination for all things related to arts, entertainment, visual arts, and design. In this article, we will guide you through the process of effectively removing tape-in hair extensions. By following our step-by-step instructions, you can ensure a safe and hassle-free removal experience.
Why Tape-In Extensions?
Tape-in hair extensions have gained immense popularity in recent years due to their natural look, versatility, and easy application. Whether you're looking to add length or volume to your hair, tape-in extensions provide a seamless and long-lasting solution.
Preparation
Before you begin the removal process, it's crucial to gather the necessary tools. You will need:
- Tail Comb
- Adhesive Remover
- Fine-Tooth Comb
- Absorbent Towel
- Clarifying Shampoo
- Conditioner
Step-by-Step Guide to Removing Tape-In Extensions
Step 1: Prepare Your Work Area
Create a clean and well-lit space where you can comfortably work. Lay out your tools, ensuring easy access to everything you need.
Step 2: Section Your Hair
Divide your hair into manageable sections using the tail comb. Ensure that each section is about the width of the tape-in weft to facilitate an organized removal process.
Step 3: Apply Adhesive Remover
Take the adhesive remover and gently apply it to the top of the tape-in weft. Allow it to sit for a few minutes to loosen the adhesive bond.
Step 4: Carefully Detach the Extensions
Using your fingers or a fine-tooth comb, start at the edges of the tape-in weft and slowly peel it away from your scalp. Take your time to avoid any pulling or discomfort.
Step 5: Remove Residue
Once the extensions are removed, there may be some adhesive residue left on your natural hair. Apply a small amount of adhesive remover to a clean, absorbent towel, and gently rub the residue to dissolve it. Repeat this process until the residue is completely gone.
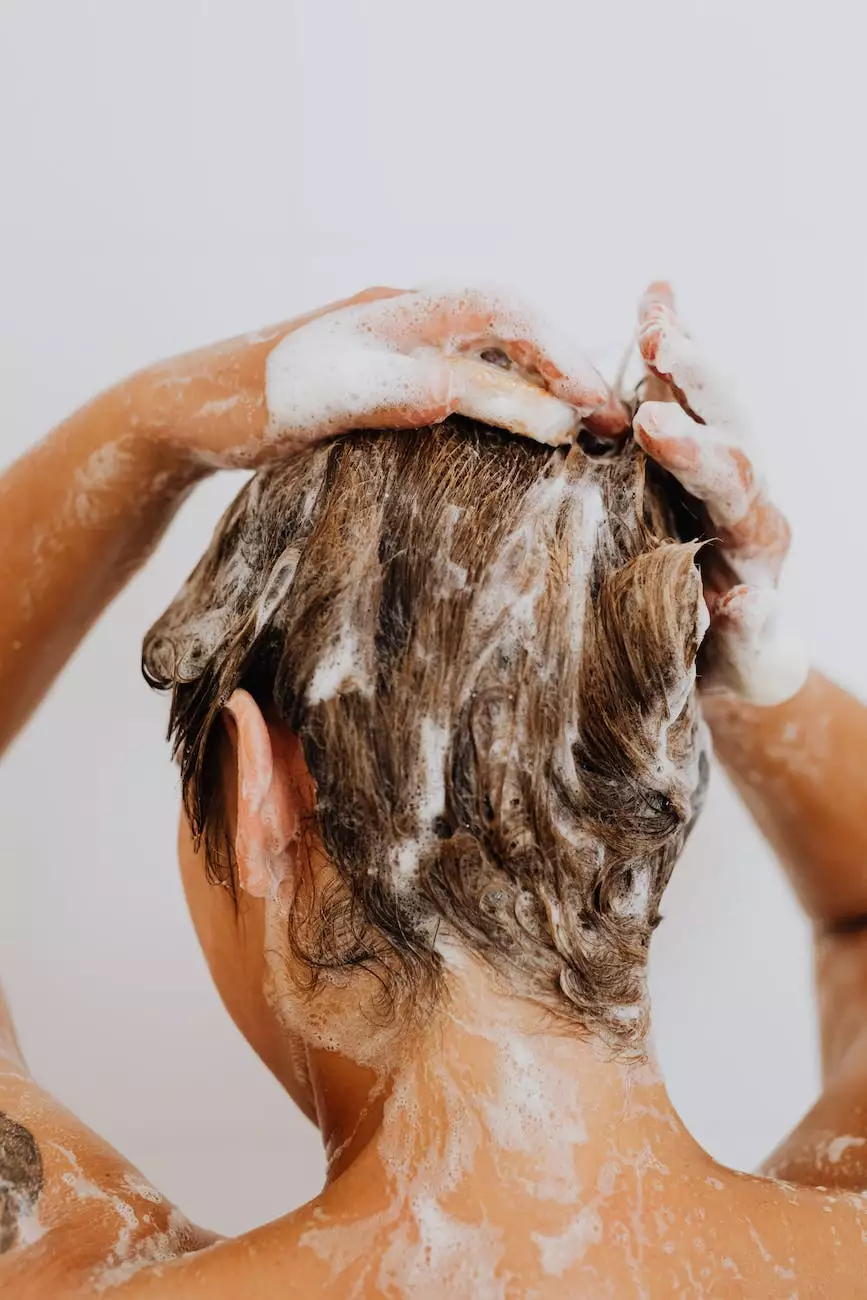
Step 6: Cleanse and Condition
Wash your hair with a clarifying shampoo to remove any remaining adhesive residue and cleanse your scalp thoroughly. Follow up with a nourishing conditioner to restore moisture and manageability to your natural hair.
Aftercare Tips
Here are a few essential aftercare tips to keep in mind after removing your tape-in extensions:
- Avoid applying heat to your hair for at least 48 hours to allow your natural hair to recover.
- Brush your hair gently using a wide-tooth comb or a brush specifically designed for hair extensions.
- Maintain a consistent hair care routine, including regular washing, conditioning, and deep treatments to nourish and protect your hair.
- Consider scheduling a consultation with a professional stylist to ensure proper removal and installation of your next hair extensions.
Conclusion
Removing tape-in extensions can be a straightforward process if done correctly. By following our step-by-step guide, you can safely remove your extensions without causing any damage to your natural hair. Remember to be patient and gentle throughout the process, and always prioritize the health of your hair. At Courtney Taylor, we are dedicated to providing you with valuable information and resources to enhance your beauty and artistic experiences.